



I Tried Using Previz for AI Video Generation. Even Rough Previz Is Better Than None
I tried feeding AI video generation a simple previz made with boxes and mannequins. Previz is rough footage used to decide character placement, movement, and camera work in advance.
Bottom line: it works surprisingly well. It will not faithfully reproduce every last detail, though. Instead, when you give it broad direction, it fills in what is missing quite nicely. It was useful as a blueprint for that.
Comparing Previz and Generated Results
In every video, the AI-generated footage is on top and the original previz is on the bottom. Each is about 15 seconds long. I tested how much of a scene's flow could be conveyed without building out detailed backgrounds or characters.
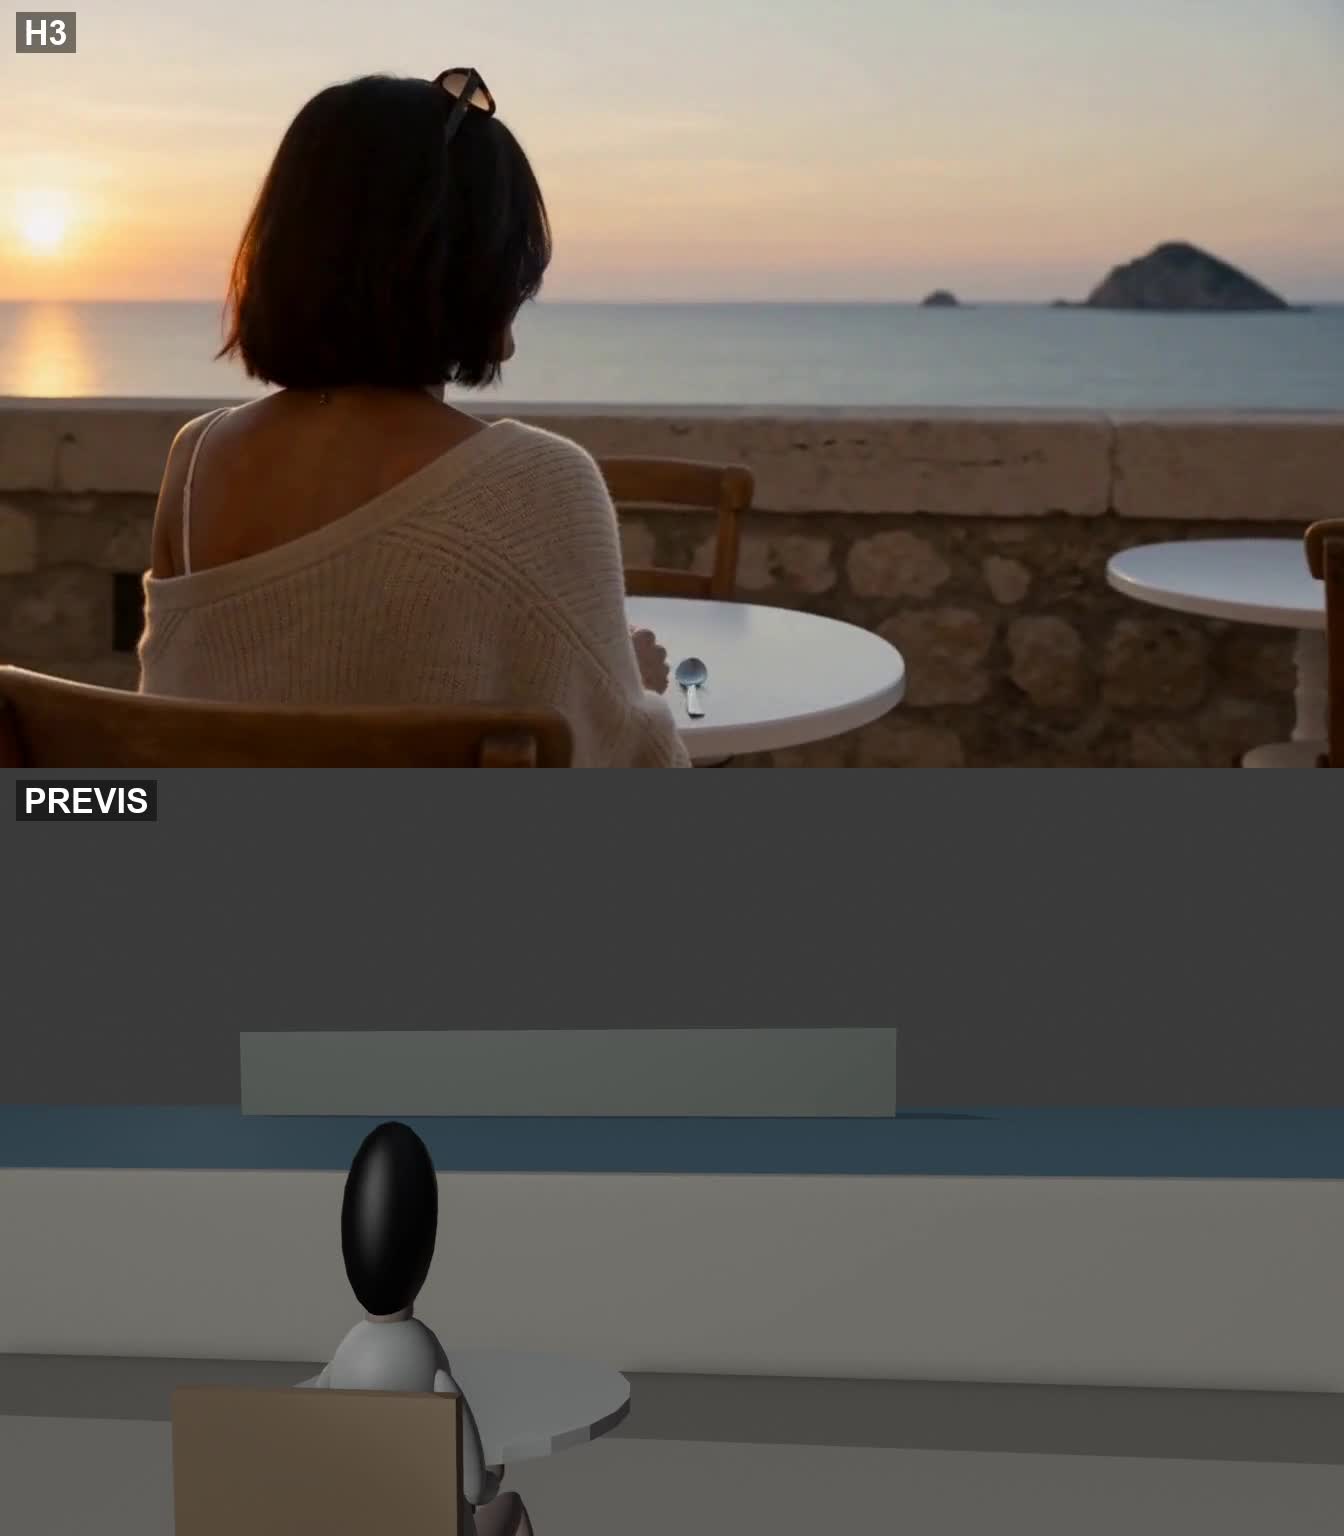
A Seaside Café
From a simple arrangement of tables and people to a café at sunset. Actions such as lifting a drink to the mouth are rendered in a live-action style.
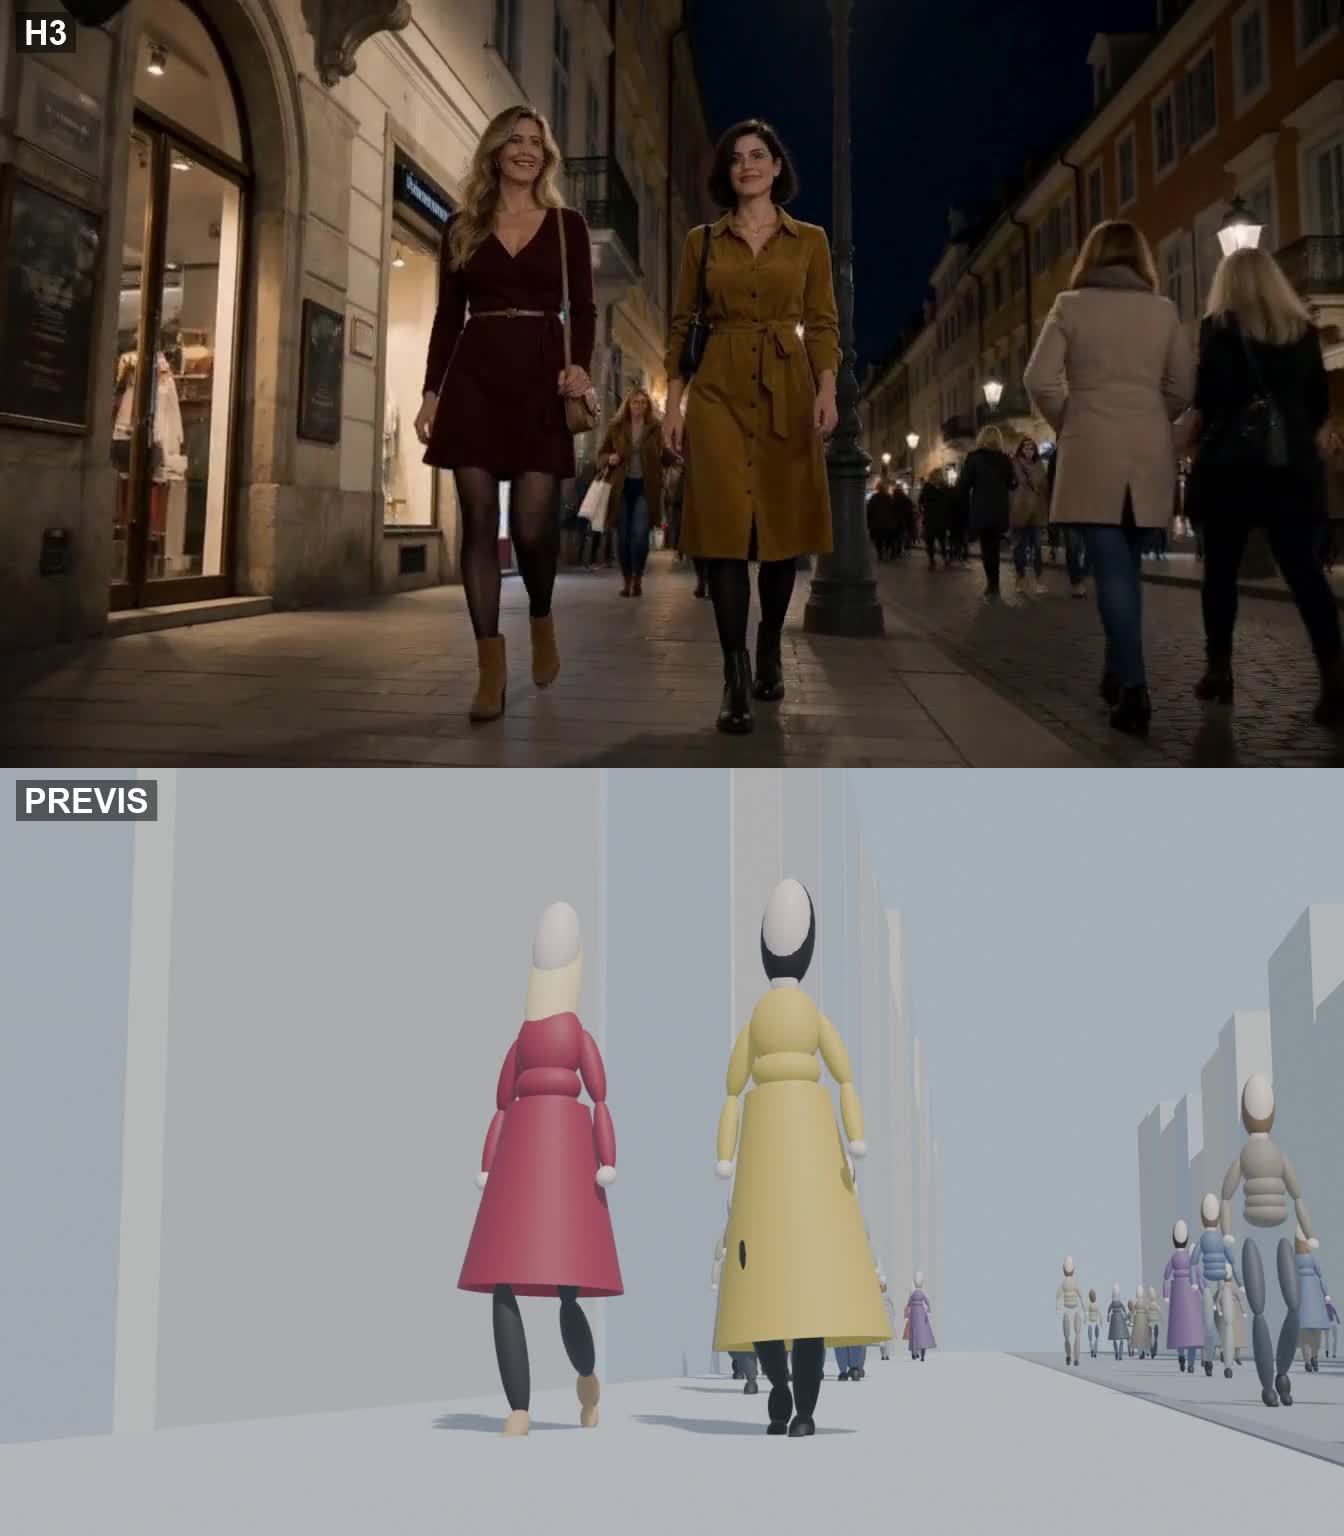
Walking Through the City at Night
The previz specifies the character's position and walking direction. A bright, bare-bones streetscape that looks like daytime is turned into a nighttime city through the prompt.
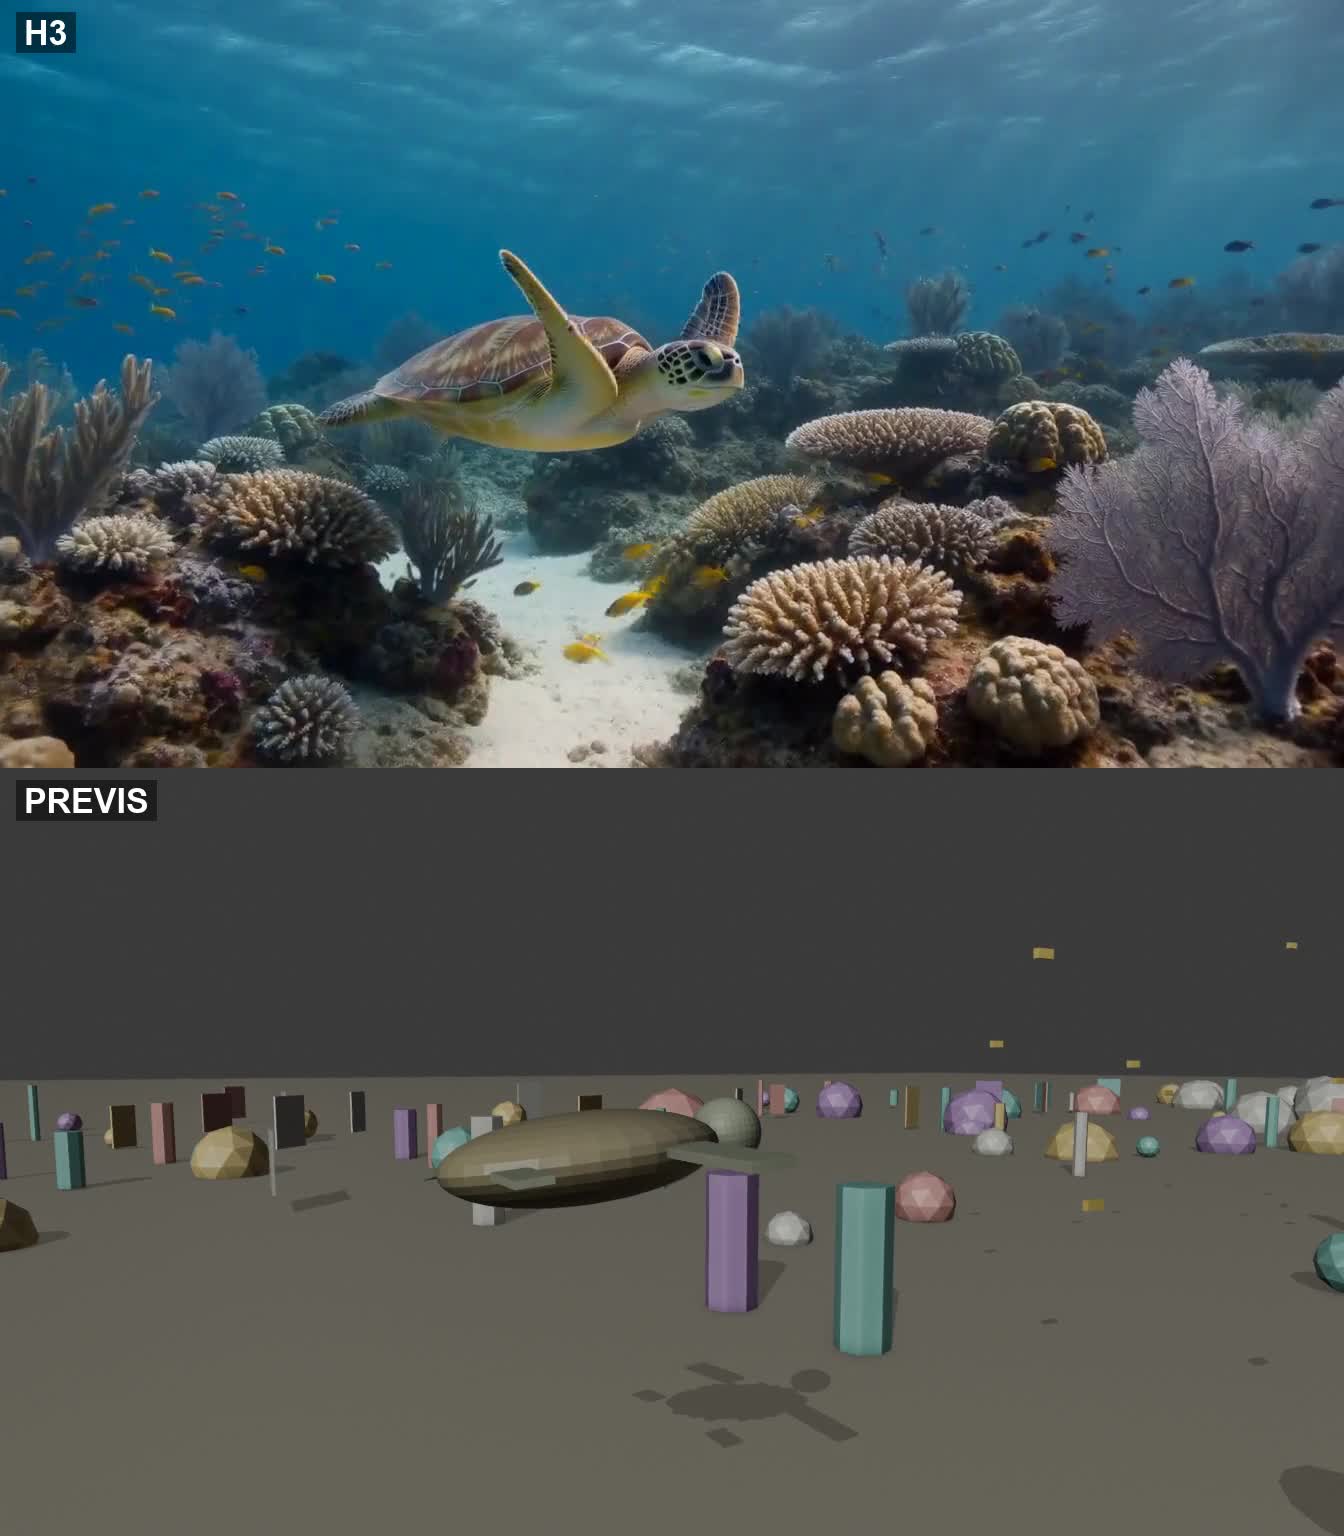
A Sea Turtle Underwater
Starting with a rough seafloor and sea turtle movement, it becomes an underwater landscape with light filtering through the water and coral. This sample clearly shows how the visuals are filled in.
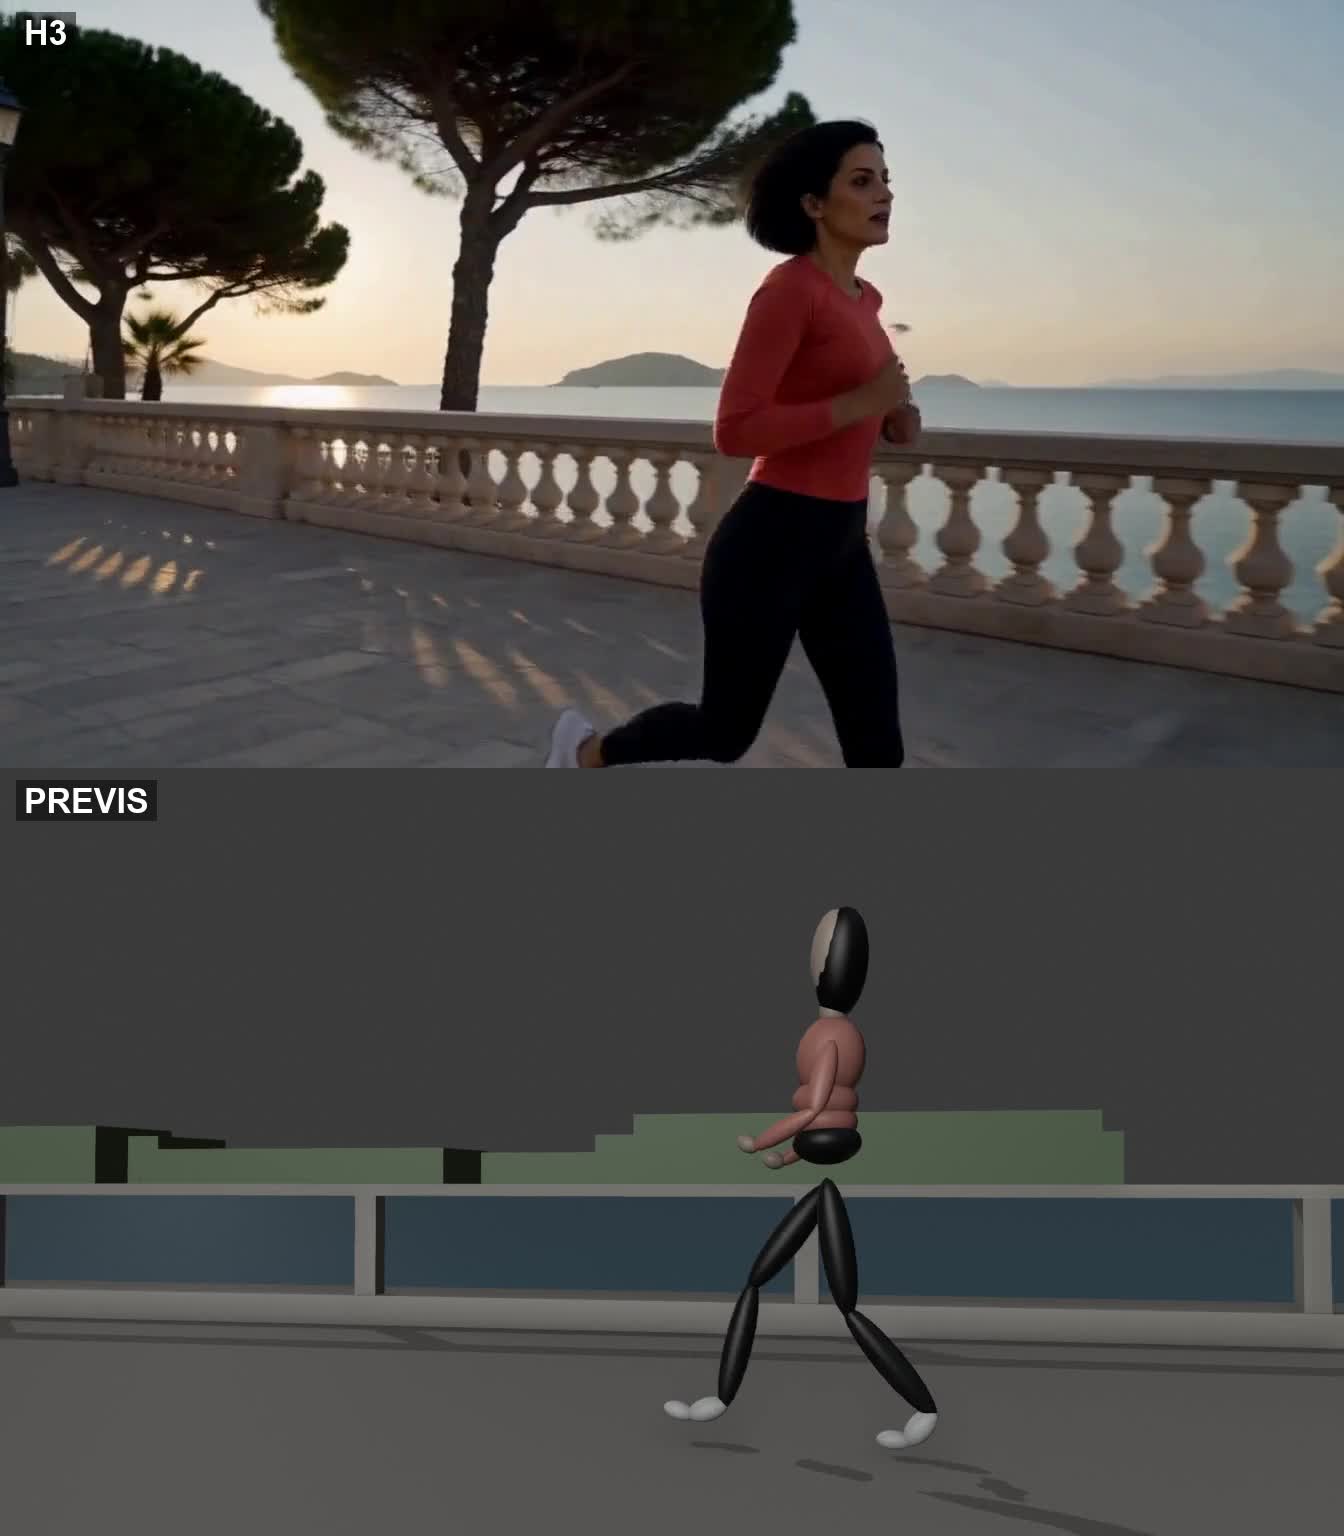
Running Along the Coast
I specified a running character and the movement of a camera following them. The rough background is replaced by a coastal promenade.
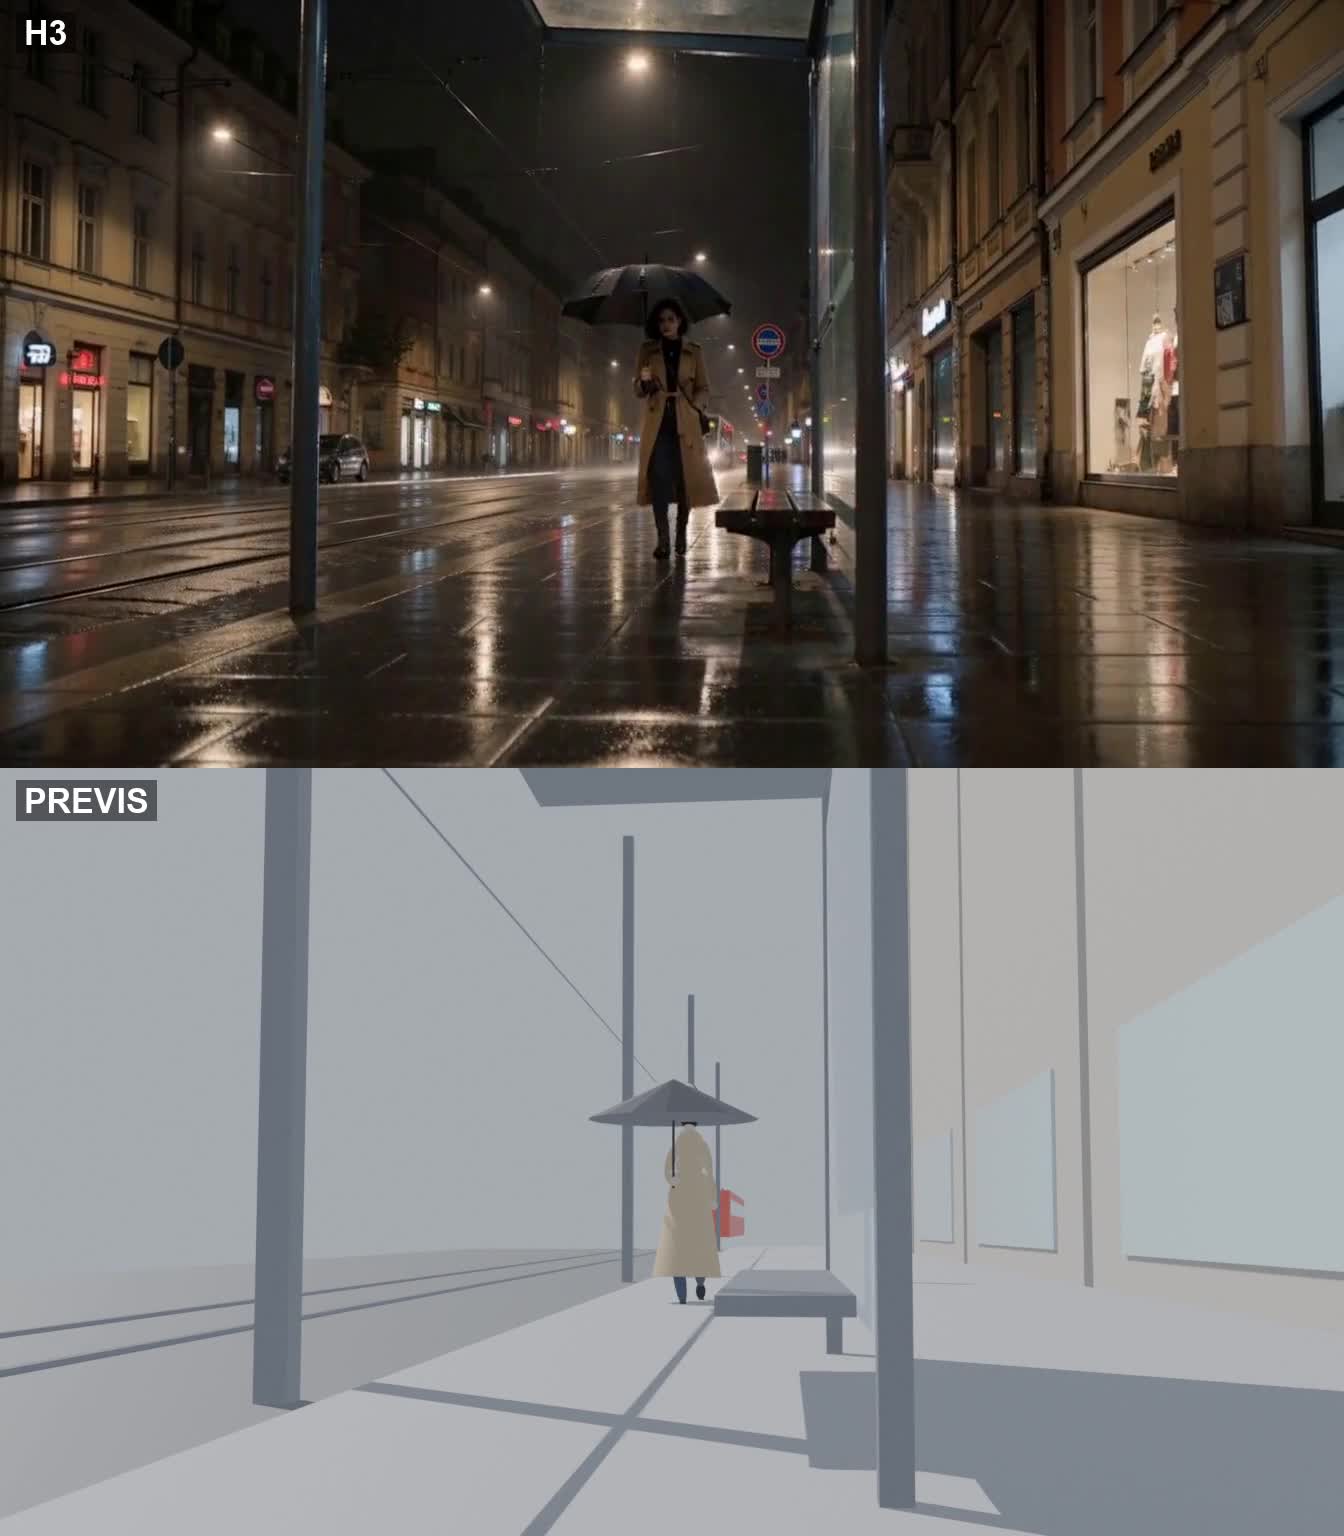
A Rainy Street and a Tram
Based on the placement of a person holding an umbrella and a tram, I added the atmosphere of a rainy night.
The Process Is Simple
For this project, I used the following workflow.
- Create previz using boxes and simple shapes in Python + Blender 4.2. I also used Mixamo for character movement.
- Prepare reference images for characters and other elements with Codex image generation.
- Feed the previz, reference images, and reference audio to MiniMax-H3 Ref2VA to generate roughly 15 seconds of video.
- Create dialogue with HiggsAudio v3, sound effects with Stable Audio 3 Medium, and background music with ACE-Step 1.5, then mix and edit them with ffmpeg. I used Claude Code for production scripts and execution management.
The key is to separate the roles of the references. I told it to use “images for faces and costumes” and “previz for placement, action, and camera movement,” while making sure it did not inherit the appearance of the mannequins or boxes. I specified the final look—night, rain, lighting, and so on—in text.
Useful, but Many Details Change
Character placement, direction of movement, action sequence, and broad camera movement are easy to convey. On the other hand, finer instructions such as “stop after a certain number of seconds” or “zoom by this much” sometimes drifted or were not reflected at all. You cannot lock down every detail precisely.
The previz lighting flickering or overly regular background layouts also sometimes carried over into the generated result. It seems best to keep both lighting and shapes simple in the previz, focusing only on the motion you want to communicate.
Even so, it is convenient that it can turn broad directions into polished-looking footage. The details may change quite a bit, but it is more than capable of conveying the overall direction. You do not need to make it perfect—rough is fine, but it is better to use previz, which was my takeaway from this experiment.